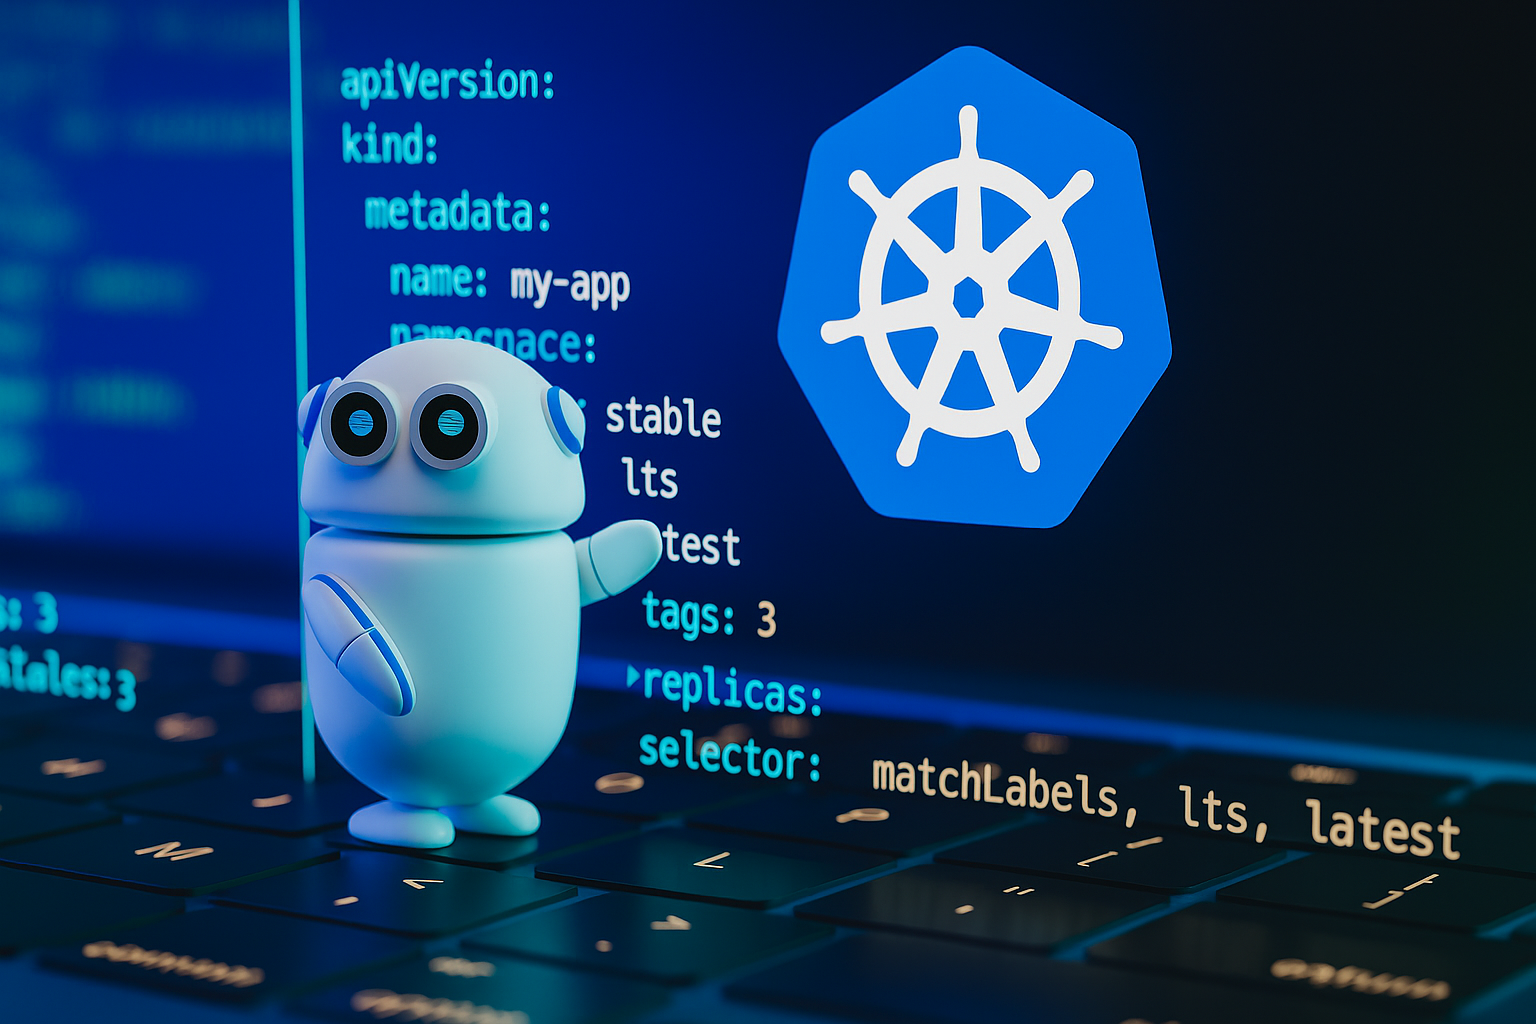
You’ve discovered all the features Kubernetes has to offer and you’re convinced?
It’s exactly what you need for your website!
But now it’s time to get started. And where do you start when you’re starting from scratch? In this article, we propose a basic foundation that will enable you to get started with peace of mind, with a solution that is structured, readable and therefore easy to maintain. Please note, however, that in order to follow this article, and above all to implement this proposal, it is recommended that you have a thorough understanding of the basic concepts of Kubernetes.
Basic tools
First of all, here are the main tools we’ll be using:
- kubectl
- helm (secrets/diff)
- sops
- helmfile
- git
To easily version your configurations and keep track of our deployments, we use helmfile, which, like docker compose, lets you declare environments. It’s much simpler than rewriting all helm commands from scratch (re-specifying namespace, values file etc.)!
Architecture
With kubernetes, when you start with an “empty” cluster, there are basically only the pods used to run the nodes, all in kube-* namespaces.
To organize our resources properly, we’ll use several namespaces such as reverse-proxy, monitoring, logging… This will enable us to easily grant more detailed rights to users connected to the cluster.
The first step is to divide our configurations into several git repositories:
- Kubernetes Common:
Enables the instantiation of elements that must be unique to the entire cluster. These include the kubernetes dashboard, reverse-proxy, monitoring and more… - Kubernetes your-site deployments:
Contains everything you need to deploy your site’s various environments. If you want to commit a new version of your site, this repository is the place to do it. - Helm Chart frontend:
This defines all the components needed to deploy your site. These can bedeployments,services,secrets… - Helm Chart xxx:
All your other customized charts, such as an api or other…
What does it look like?
Kubernetes common
We start with a file helmfile.yaml which will contain the list of our helm releases. ex :
releases:
  - name: traefik
  chart: traefik/traefik
  version: x.x.x
  namespace: reverse-proxy
  secrets:
  - ./traefik.values.encrypted.yml

  - name: cert-manager
  chart: jetstack/cert-manager
  version: x.x.x
  namespace: reverse-proxy
  values:
  - ./cert-manager.values.yml
cert-manager.yaml
crds:
  enabled: true
  keep: true
Once we’ve configured our values for the various tools, all that’s left to do is run the helmfile apply command.
It is sometimes necessary to include sensitive data in value files, such as a private key. You can encrypt these files using sops and helm secrets, allowing helm to decrypt the files before applying them.
Kubernetes your-site deployments
This file will be different from the common one, because it will have an extra dimension: the environment.
helmfile.yaml
environments:
  preprod: {}
  prod: {}

repositories:
  - name: ma-stack
  url: https://url-du-repo

releases:
  - name: frontend
  chart: ma-stack/frontend
  version: 1.0.0
  namespace: "{{ .Environment.Name }}"
  secrets:
  - ./{{ .Environment.Name }}/frontend.values.encrypted.yaml

  - name: api
  chart: ma-stack/api
  version: 1.0.0
  namespace: prod
  secrets:
  - ./prod/api.values.encrypted.yaml

  - name: api
  chart: ma-stack/api
  version: 2.0.0
  namespace: preprod
  secrets:
  - ./preprod/api.values.encrypted.yaml
Adding the notion of environment to this helmfile means you can deploy a specific version for each environment.
In this example, version 1.0.0 of the frontend chart is deployed twice: once on the prod environment and once on the preprod environment. The difference may lie in the values file, which will contain different settings depending on the target environment.
For example, values files generally specify the tag of the deployed docker image, which in this case means that two different versions of the site can be deployed on each environment.
Concerning the api, this one has a new version of the chart in preprod. This makes it possible to add a new kubernetes element, such as a new service or other… Hence the importance of extracting the chart from your front-end/api in another repository.
After all that, we can apply this configuration with helmfile apply and it delivers all the necessary modifications on all environments!
What’s next?
With this distribution between different projects, all that remains is to implement the CD.
Configuration deployment can therefore be automatic, and our repositories will be the source of truth for the state of your cluster.
In your integration chain, updating an application will consist of committing to these repositories.